Tools required

- Slotted screwdriver or a coin to loosen the screws
- Box with interchangeable parts
- If necessary, use a non-slip base or fine pliers to better fix the flat nut if the screws are tight. The pliers should be the last option, as the leather scratches easily. As a rule, a piece of leather, a self-healing crafting mat or a pair of non-slip latex gloves will suffice
Change buckle
- Undo the two screws holding the buckle and the belt ring.
- Remove the buckle and belt ring via the wide end

- Fit new belt ring (weld seam on the underside)
- Pull on the buckle and thread the pin. Pay attention to the alignment of the mandrel
- Fold over the end and fix with new screws

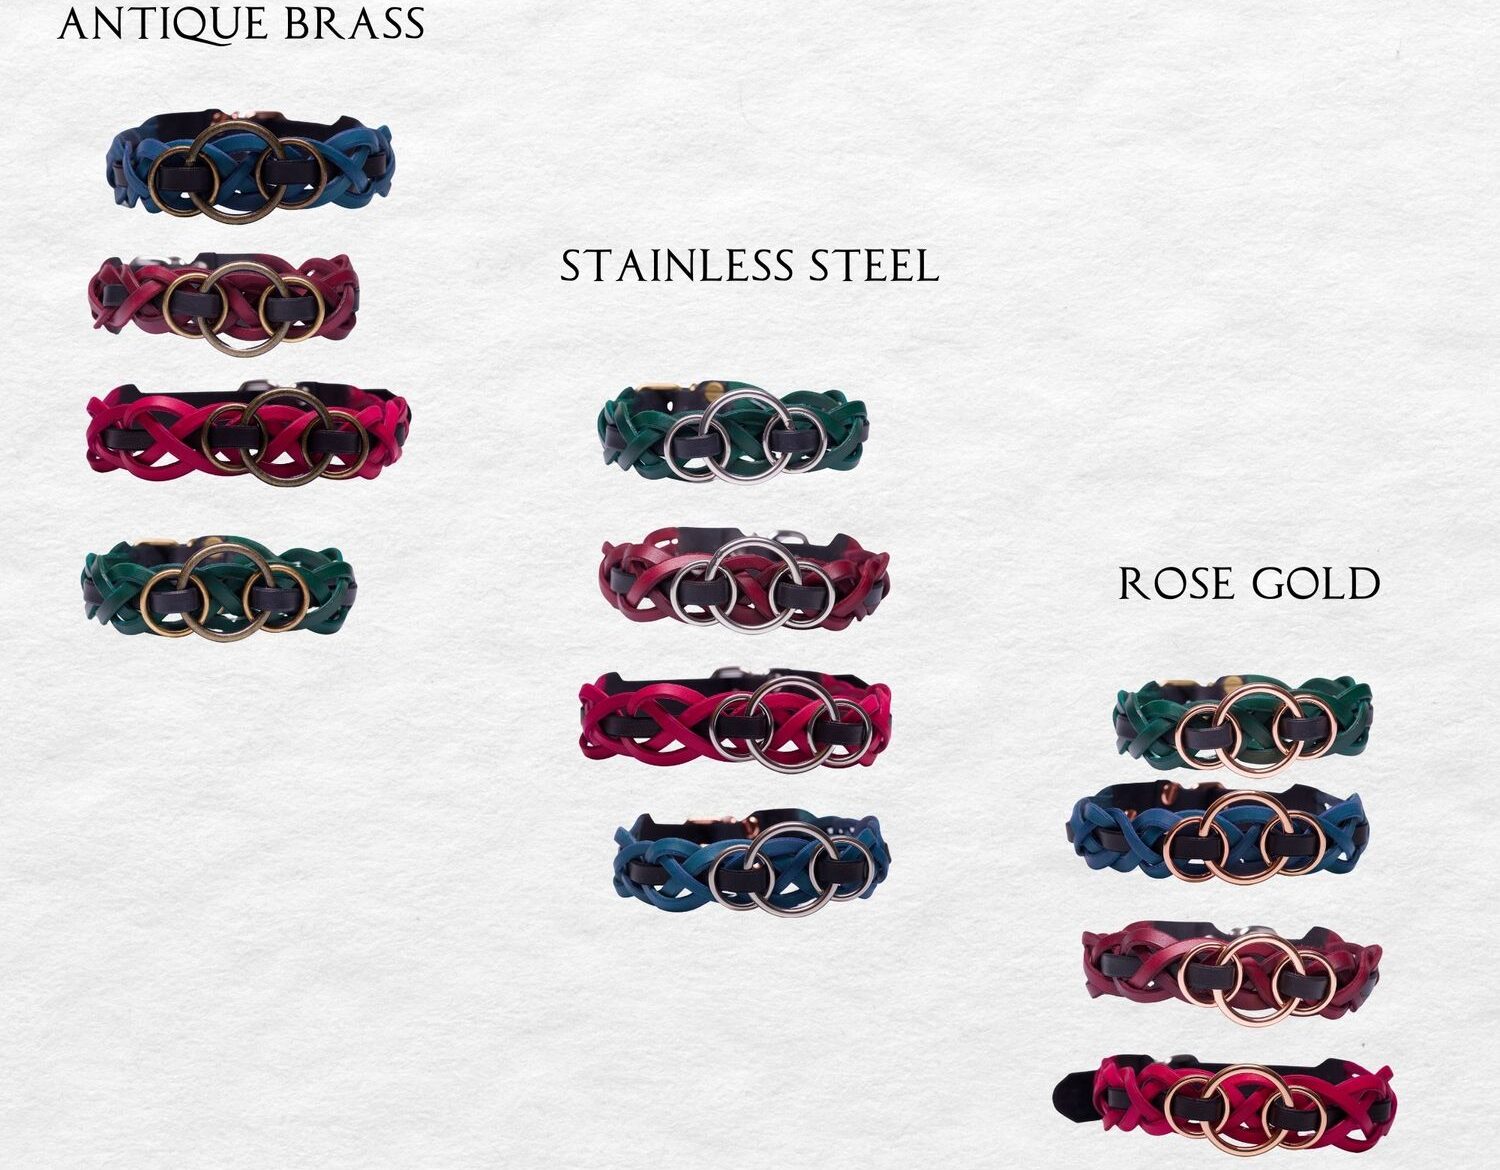
Change rings
- Remove the middle strip. This is held by the single screw
- Pull back the strip until the rings are loosened. Proceed step by step

- Pull the strip through the first small ring
- Then through the large ring
- Fold the strip around the large ring and feed it back through the small ring
- Pull the strip over the next cross back under the collar

- Bring the strip forward again after the next cross
- Thread through the second small ring
- Thread through the large ring, fold over and thread back through the small ring
- Pass over the next cross back under the collar
- Weave alternately over and under the interwoven crosses until the end
- Fix the end with a screw


